
Reading Flight Images on a PC
After your flight, you will want to access the Pi photographs and maybe upload them to social media etc. The quickest way to do this is to pop the micro SD card into a laptop and read the images there.
However, neither Windows nor OSX can access the Linux partition on the Pi SD card without special software being installed. Here we discuss the Diskinternals Linux Reader program which works on Windows; there are other programs available for Windows and OSX.
First, download and install the software.
Insert the Pi SD card into your PC's card reader, using an adapter if necessary. Then run the Linux Reader program (if you insert the card after starting the program, then press F2 to refresh the drive list). You will see something like this:
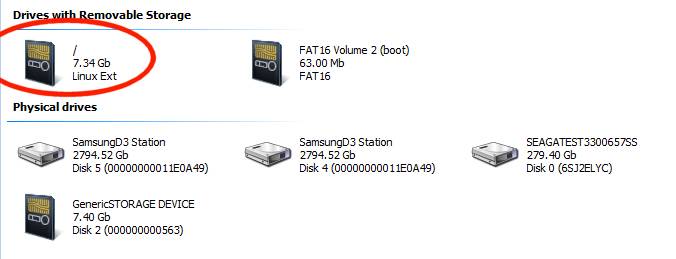
Double-click on the "Linux Ext" partition under "Drives with Removable Storage", and not the entry in "Physical Drives". You will then see the contents of the partition:
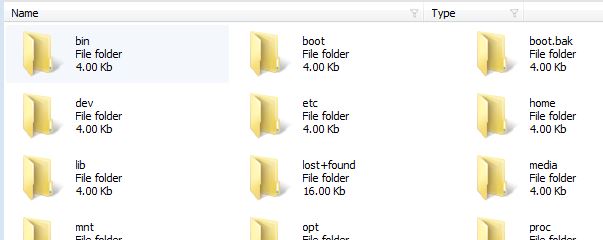
Open (by double-clicking again) the "home" folder, then the "pi" folder, then the "pits" folder, then the "tracker" folder, and finally the "images" folder. You will then see the following folders:
- FULL (for full-sized images)
- LORA0 (for images taken for the LoRa 0 (CE0) channel
- LORA1 (for images taken for the LoRa 1 (CE1) channel
- RTTY (for images taken for the RTTY channel
This is the folder structure shown graphically:
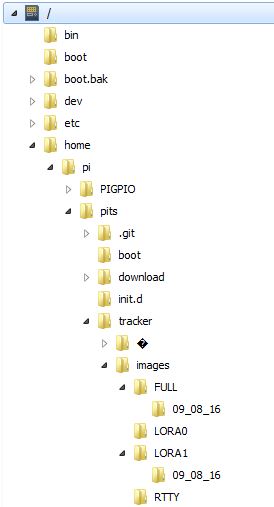
Within each of the 4 folders mentioned, you may see a number of dated folders, one per date that the tracker stored images on. Note that the Pi only knows the current date and time if it is connected to the internet or if it has a GPS lock, so any photographs taken otherwise (i.e. disconnected from the internet and without a GPS lock) will have incorrect timestamps and will possibly be stored in the wrong dated folder.
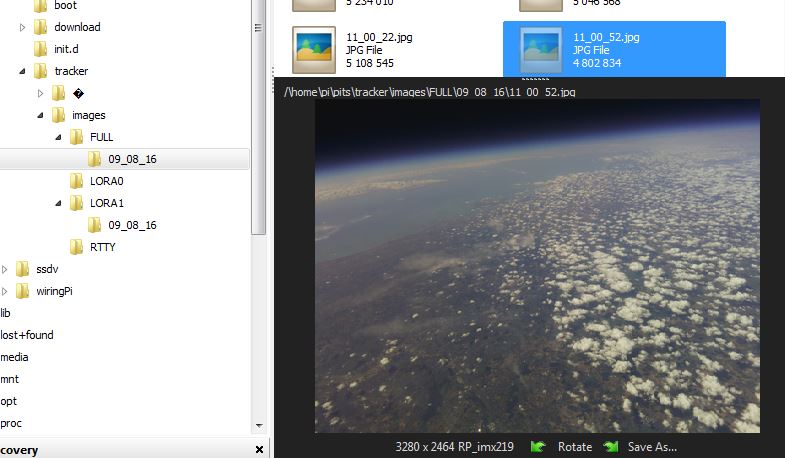
You can view images directly in the program, simply by navigating to the folder you are interested in, and clicking on an image file:
To copy images to a PC drive, first select them (you can select all with CRTL-A or right-click on an image then choose Select All from the menu), and then clock the Save button on the toolbar. The program will then ask where to save the files.
Published on